Building a Jekyll generated blog hosted on Amazon S3
Back in January 2015, I decided to start a blog hosted on Amazon EC2 running Wordpress as the CMS. A detailed article on the setup can be found here. Just a few months later, I am now moving my blog. This time to a Jekyll generated site hosted on Amazon S3. Below is a detailed account of why I decided to move, and how you can setup your Jekyll generated site on Amazon S3.
Why am I moving off Wordpress?
- Spam! As it turns out, a Wordpress site is a prime target for spam bots. On a daily basis, I had to moderate atleast 10-12 comments from online pharmacies to peddlers of site traffic generators.
- Security: A Wordpress site still needs MySQL running. While I can certainly secure a MySQL DB, the question was should I have to?
- Going server less: With Amazon S3, I can store my data and serve a static site too. One less server for me to manage and administer.
- Higher availability: With EC2, I had to run 2 instances for high availability. Again, this is fairly easily to accomplish with the AWS Elastic Load Balancer. However, Amazon S3 offers 11 x 9s of durability and 4 x 9s of availability.
- Learning something new: Probably the biggest factor for me but I wanted to learn something new!
Prep your Linux or Mac machine for Jekyll
sudo yum install ruby
sudo yum install ruby-devel
sudo yum install gcc
Depending on your current environment, you might not need to run the above.
Install Jekyll
sudo gem install jekyll
jekyll new my_awesome_site
cd my_awesome_site
jekyll serve
After this navigate to http://localhost:4000. You should be able to view the default Jekyll home page.
Configure Jekyll
- Most of the parameters you’ll want to configure are in the
_config.ymlfile which can be found in themy_awesome_sitedirectory we just created. - Additionally, you can modify the
index.htmlfile in the root folder. - Your posts go in the
_postsfolder and follow standard markdown. - Head over to Jekyll for more details on the supported customization.
Installing s3_website
s3_website is a nifty tool to push your site to Amazon S3. Follow the below steps to install and configure it.
sudo gem install io-console #I had to install the io-console package for s3_website to work
sudo gem install s3_website
s3_website cfg create
This final step will create a s3_website.yml file in your my_awesome_site directory
Configure your Amazon S3 bucket
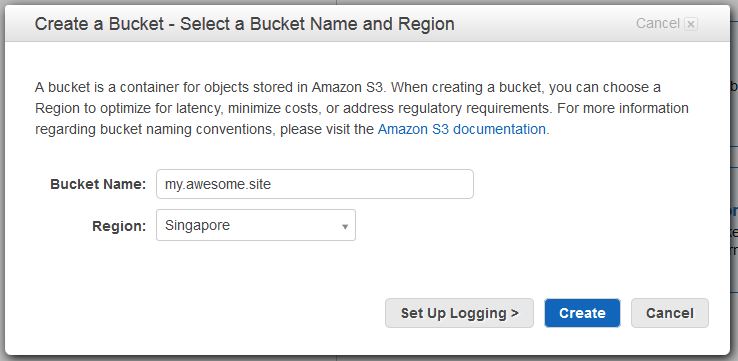
Login to S3 via the Amazon management console and click on Create Bucket
Then give the bucket an appropriate name
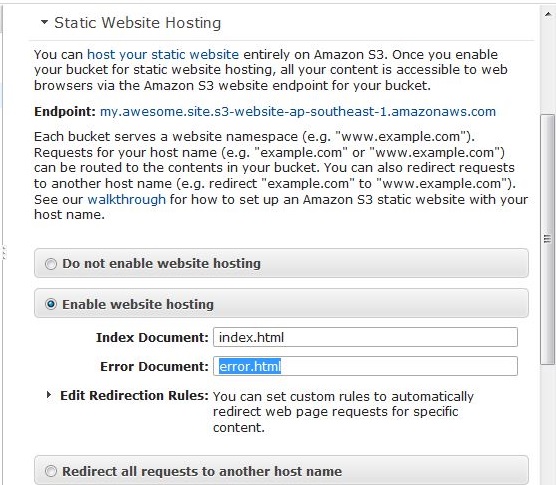
Then click on Properties and find the Static Website Hosting section. Click the radio button next to Enable website hosting as shown below
Then assign read Permissions so that everyone can accessing your site can view the page. Do so by clicking on Permissions > Add bucket policy
Paste in the following
{
  "Version":"2012-10-17",
  "Statement":[{
	"Sid":"AddPerm",
        "Effect":"Allow",
	  "Principal": "*",
      "Action":["s3:GetObject"],
      "Resource":["arn:aws:s3:::my.awesome.site/*"
      ]
    }
  ]
}
After this you should be able to access your S3 bucket
Configure Amazon IAM
To push your Jekyll generated site onto Amazon S3, you’ll have to create a user and assign that user the right permissions via the Amazon IAM console
- Login to the Amazon console and click on Identity & Access Management
- Choose Users from the side bar and click on Create user
- Type in the user name > Create user > Download the User security credentials
- Then select the user you just created and click on Attach Policy
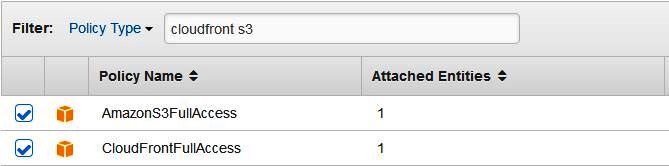
- Find the AmazonS3FullAccess and CloudFrontFullAccess policies and attach them to the user
Deploying your site
Now that you’ve configured your S3 bucket to host a website, and configured the appropriate IAM permission, next step is to configure s3_website.yml
Edit s3_website.yml and configure the following variables:
s3_idwhich is the Access Key ID you downloaded in the previous steps3_secretwhich is the Secret Access Key you downloaded in the previous steps3_bucketwhich is the name of the S3 bucket we created- (optional)
cloudfront_distribution_idif you want to use Amazon’s CDN network
Pushing your site, CloudFront, and DNS
From the my_awesome_site directory run:
s3_website cfg apply #This step helps check that your config file and IAM configuration is working correctly
jekyll build
s3_website push  #This step pushes your new site to your S3 bucket
Now all you have to do is browse to your S3 bucket’s URL or add a CNAME to your custom URL that points to the S3 bucket
Originally, I created a CloudFront distribution for my static site. But it was an overkill for my site, and now I serve my content directly from S3.
At this point you should have your Jekyll generated site running on Amazon S3
Happy blogging =)
Tags: AWS